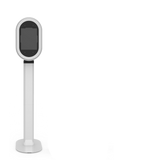
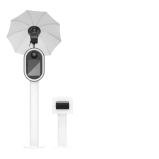
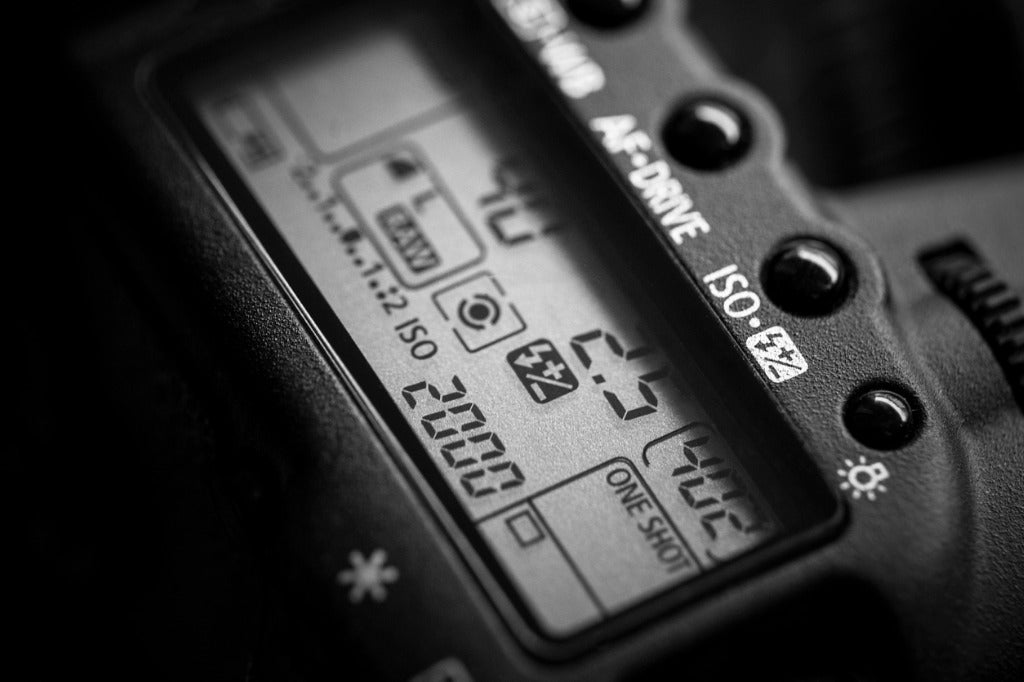
If you're using a DSLR-based booth, such as our Queso or Legacy booths, it's important to know what the ISO, shutter speed, and aperture do and how they can change your photos and affect the final results.
Heck, even if you're using our Salsa Photobooth or just a photographer in general, it's equally important to know what each of these camera settings do so that you can achieve amazing results regardless of the environment you're in.
Today, we're going to break down each setting and make it as easy to understand as possible.
ISO
The ISO is a way to brighten your photos if you're unable to use a longer shutter speed or wider aperture. It's normally measured in numbers such as 100, 200, 400, 800, etc.
Ideally, you want to use the lowest number possible while still getting a beautiful shot.
Of course, varying lighting situations will determine the ISO that you must use, but the higher the number, the grainier/noisier the photo will be.
Shutter Speed
The shutter speed is the amount of time that the camera's shutter is open and exposing light into the camera's sensor.
Shutter speeds are typically measured in fractions of a second, assuming they're under a second, to begin with. You'll seem them on your camera as 1/15, 1/30, 1/60, 1/1000, etc.
Slow shutter speeds allow more light into the camera sensor and are used for low-light situations, while faster shutter speeds help to freeze motion.
In the photo booth world, you're likely going to want a higher shutter speed. We all know that parties and events can get crazy and people aren't the best at sitting still. The higher the shutter speed, the sharper the image will be.
However, it's important to remember, that the higher the shutter speed, the less light is being let in. It's important to find an equal balance between your shutter speed, ISO, and aperture.
Aperture
The aperture is a hole within your camera's lens that allows light to travel into the camera body. The larger the hole, the more light that can pass through.
The aperture also controls the depth of field. You know how some photos have that creamy blurred background? Yeah, that's controlled with the aperture.
If the aperture is very small, the depth of field is large, while if the aperture is large, the depth of field is small. You'll see the aperture represented as f/1.4, f/1.8, f/2.0, etc.
Combining All Three
Like we said, it's important to take each setting into account in order to create the best photos possible.
In terms of a photo booth, your best bet would be to find a fast shutter speed and low ISO in order to have clear and tack sharp photos. You can then find an aperture that complements the settings you've found.

Play around with these settings before an event to try and get a good understanding of how they work. Of course, you can opt for the auto mode on your camera, but you risk not seeing consistency throughout the photos.
The best way to dip your feet into the world of manual camera settings is by starting out with one of the semi-manual settings on your camera. Most cameras will have an "A," "T," or "P," mode which will allow you to change just one of the settings at a time. This will allow you to have more control, learn what that setting does, but also be helped by having other settings in auto mode.
As they say, practice makes perfect and it's important to play around with these settings whether it's on your DSLR camera or hidden in your iPad-based photo booth software.
And that's it! We hope that this article will help you make sense of your camera's various settings and modes!
Want to learn more tips and tricks on how to have a successful photo booth business?
Check out our other blog posts and our 26-Episode Video Series where you can hear from real PBSCO Photobooth owners on how they've led their businesses to success!
